Complete Your Setup
Get the compressor, mount, wiring, and 4-tire system matched to your vehicle.
 Customize Your StrikePro Compressor
Build Yours →
Customize Your StrikePro Compressor
Build Yours →
 Ultimate Air Bundle: Ford Bronco 4-Door Hardtop (...
$1,080.97
Ultimate Air Bundle: Ford Bronco 4-Door Hardtop (...
$1,080.97
 Ultimate Air Bundle: Ford Bronco 4-Door Soft-top ...
$1,080.97
Ultimate Air Bundle: Ford Bronco 4-Door Soft-top ...
$1,080.97
Details
Complete Air Management System
Available Now for Preorder
Lightning Strike is expected to ship in mid-October 2026. Bundle components will ship together when the complete system is ready.
Lightning Strike Complete Four-Tire Air System
Manage All Four Tires from One Intelligent System
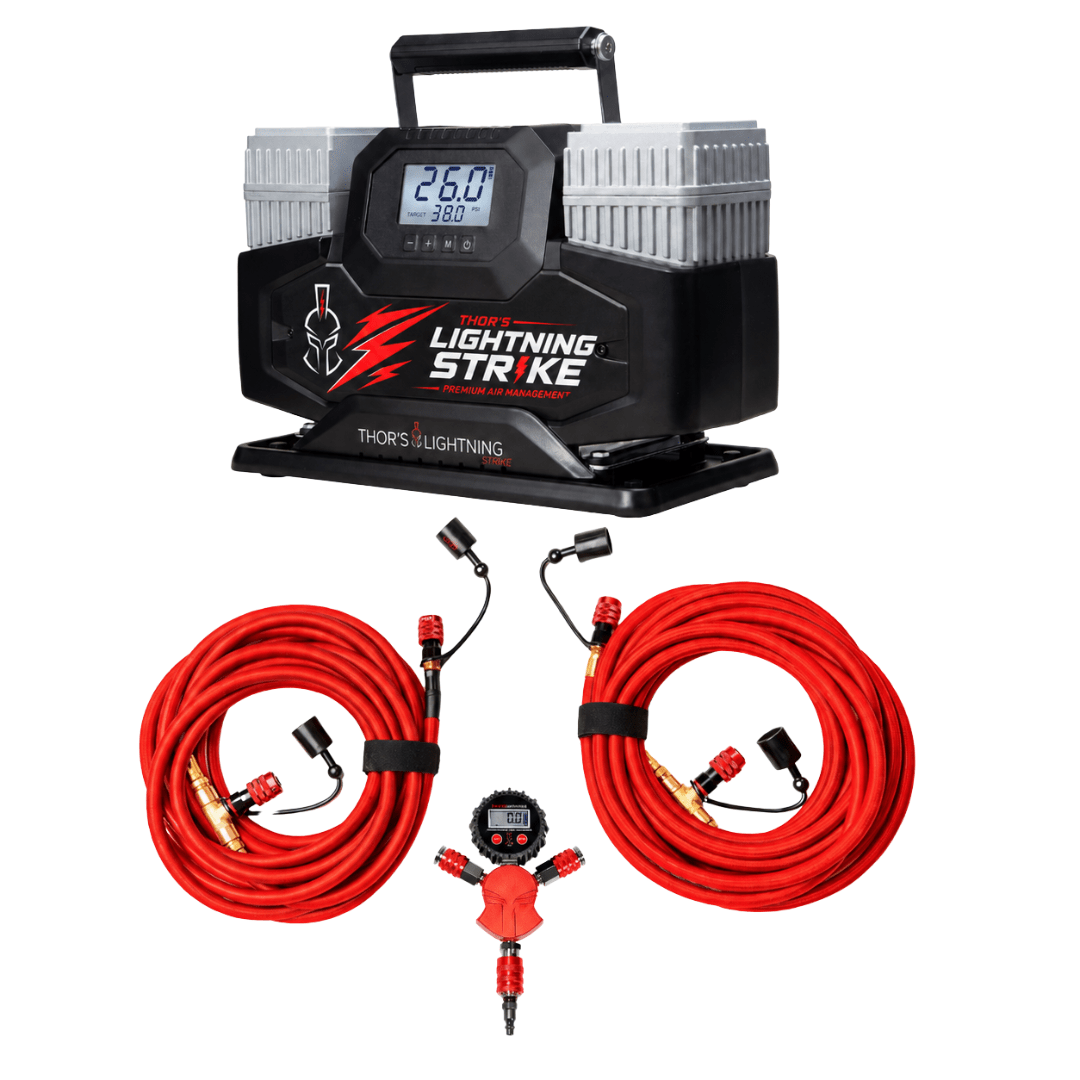
Pair the next-generation Lightning Strike Portable Air Management System with Thor’s Lightning’s Rapid Multi-Tire Air System to inflate, deflate, equalize, and manage all four tires from one central connection.
Connect your tires, select the desired pressure on Lightning Strike, and let the system manage the process.
Inflate All Four Tires
Distribute airflow across all four tires simultaneously while Lightning Strike monitors system pressure.
Automatically Air Down
Select your trail pressure and Lightning Strike automatically releases air until the target is reached.
Equalize Tire Pressure
The connected four-tire system helps bring all four tires to a consistent pressure from one central point.
One Control Interface. Four Tires.
Previous air systems required a separate control manifold to provide automatic pressure control. Lightning Strike now integrates inflation, preset deflation, pressure monitoring, and automatic stopping directly into the compressor.
That means a cleaner system, fewer separate components, and a simpler trail-side process.
What’s Included
- Next-generation Lightning Strike Portable Air Management System
- Selected swappable Lightning Strike faceplate
- Thor’s Lightning Rapid Multi-Tire Air System
- StrikeShield™ 300 PSI braided air lines
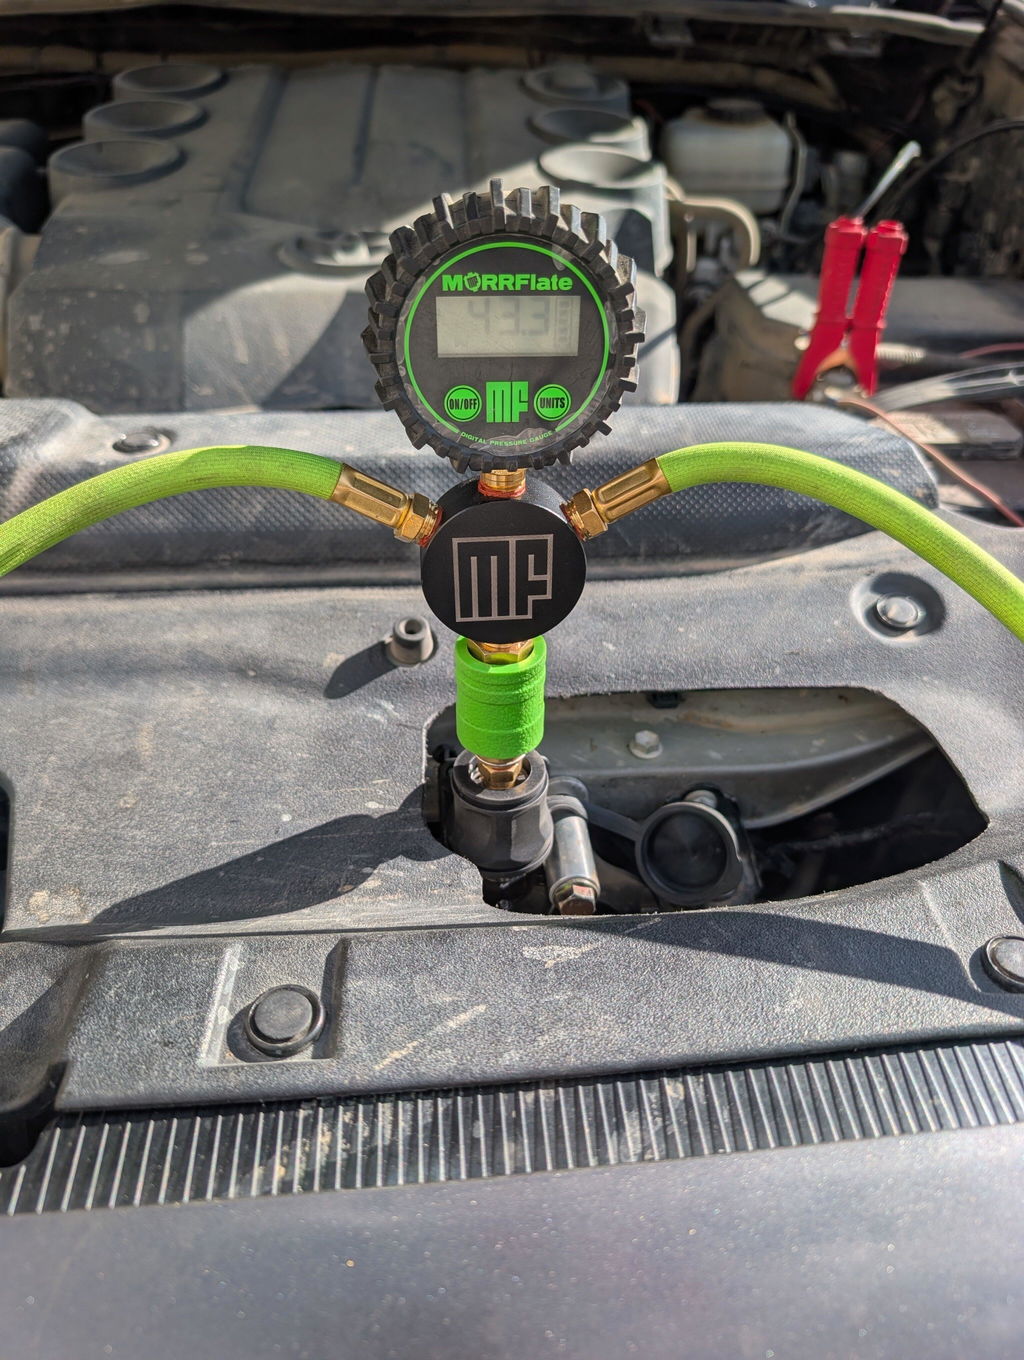
- Central four-tire connection manifold
- Tire chucks and required connection fittings
- Heavy-duty Lightning Strike carry bag
- Battery power cable and Anderson connection
- High-flow air-hose extension
Built for Complete Vehicle Pressure Management
Ideal for Jeeps, trucks, SUVs, overland vehicles, larger off-road tires, and drivers who want to air down before the trail and reinflate afterward without managing each tire individually.
Preorder Shipping
Next-generation Lightning Strike systems are expected to ship in mid-October 2026.
All components in this bundle will be held and shipped together when the complete system is ready.
Estimated shipping dates are provided in good faith and may change due to manufacturing, freight, customs, or circumstances outside Thor’s Lightning’s direct control.
Complete Four-Tire Air Management
Air Down. Air Up. Manage All Four.
Reserve your Lightning Strike Complete Four-Tire Air System today.
Shipping & Returns
Warranty
We value your satisfaction with Thor's Lightning Air Systems and its products. If you aren't satisfied with your product, we want to make it right.
Returns
Our refund and returns policy lasts 90 days. If 90 days have passed since your purchase, we can't offer you a full refund or exchange.
To be eligible for a return, your item must be returned with all components that were included in the order. Your item must also be free of wear/tear, any cosmetic defects and in good working order.
To complete your return, we require a receipt or proof of purchase.
Once your return is received and inspected, we will send you an email to notify you that we have received your returned item. We will also notify you of the approval or rejection of your refund. If you are approved, then your refund will be processed, and a credit will automatically be applied to your credit card or original method of payment, within a certain amount of days.
Late or missing refunds
If you haven't received a refund yet, first check your bank account again. Then contact your credit card company, it may take some time before your refund is officially posted. Next contact your bank. There is often some processing time before a refund is posted. If you've done all of this and you still have not received your refund yet, please contact us at returns@thorslightning.com.
Sale items
Only regular priced items may be refunded. Sale items cannot be refunded.
Shipping Returns
To return your product, you should mail your product to:
Fountain Lake OutfittersC/O Thor's Lightning Returns Dept.
919 W. Main St. Suite B
Albert Lea, MN 56007
You will be responsible for paying for your own shipping costs for returning your item. Shipping costs are non-refundable. Depending on where you live, the time it may take for your exchanged product to reach you may vary.
If you are returning more expensive items, you may consider using a trackable shipping service or purchasing shipping insurance. We don't guarantee that we will receive your returned item.
Limited Warranty
Duration: 3 years from the date of purchase by the original Purchaser.
Who gives this warranty (Warrantor): Thor's Lightning, 919 W. Main St. Suite B, Albert Lea, MN 56007
Who receives this warranty (Purchaser): The original Purchaser (other than for purpose of resale)
What products are covered by this warranty: Thor's Lightning Air System tire pressure inflation/deflation/equalization device and/or Thor's Lightning Compressor Mounting Bracket and/or Thor's Lightning Air Compressors.
What is covered under this warranty: Manufacturer defects due to material and/or workmanship with the exceptions noted below.
What is not covered under this warranty
- The cost of labor to make repairs or replacements
- Any failure that results from Purchaser's abuse, neglect or failure to operate, maintain or service product in accordance with instructions provided in the owner's manual(s) supplied
- Any damage caused by using equipment beyond rated capacity and/or capability
- Items or service normally required to maintain the product
- Items considered general wear parts such as hoses, etc. unless wear or failure is a direct result of manufacturer defect due to material and/or workmanship
- Any component damaged in shipment or any failure caused by installing or operating equipment under conditions not in accordance with installation and operation guidelines or damaged by contact with tools or surroundings
- Any component failure caused by rain, excessive humidity, corrosive environments or other contaminants
- Worn components due to improper maintenance or corrosive environments
- Cosmetic defects that do not interfere with product functionality
- Damage due to incorrect voltage or improper wiring
- Any incidental, indirect, or consequential loss, damage, or expense that may result from any defect, failure, or malfunction of a Thor's Lightning product
Responsibilities of Warrantor under this warranty
Repair or replace with either new or reconditioned unit at Warrantor's option, component and/or unit which is defective, has malfunctioned and/or failed to conform within duration of the warranty period.
Responsibilities of Purchaser under this warranty
- Provide dated proof of purchase and maintenance records
- Freight costs must be borne by the Purchaser.
- Use reasonable care in the operation and maintenance of the products as described in the owner's manual(s).
When Warrantor will perform repair or replacement under this warranty
Repair or replacement will be scheduled and serviced according to the normal work flow at the servicing location, and depending on the availability of replacement parts.
Limitation of Liability
Thor's Lightning shall have no obligation pursuant to this Warranty with respect to products which in our sole judgment have been altered damaged, misused, abused, badly worn, lost or improperly maintained. This Warranty is null and void if the customer or any other person other than an authorized representative of Thor's Lightning has made any attempt to service or modify the tool prior to its return to Thor's Lightning under this Warranty. In no event will either party be liable for any damage caused by the other party's failure to fulfill its responsibilities under these terms and conditions. In no event will either party be liable for any lost profits, lost savings, incidental damage, or other economic consequential damages Thor's Lightning products are provided and sold as is without any express or implied warranties including warranties of merchantability or fitness for particular purpose. No warranties, expressed or implied, will apply after this period. Thor's Lightning may modify these terms and conditions at any time by either providing the customer with written notice or posting such revised terms on Thor's Lightning website. Such revised terms shall be effective thirty days from the date of such written notice or posting.
Register Your Warranty
Register your purchase so we can help you faster if you ever need warranty service.
Need help?
Questions about refunds and returns: returns@thorslightning.com
Everything else: Contact us
Installation Instructions
Setup & Support
Find quick-start instructions, installation videos, troubleshooting help, and product support for your Thor’s Lightning air system.
What do you need help with?
Choose your product below. Each section includes a video, simplified steps, and key setup notes.
Lightning Strike Compressor
Operation, TotalControl mode, manual mode, and error codes.
View Compressor InstructionsStandard Hammer Manifold
Manual inflation and deflation using the manifold valve. No preset PSI or auto shutoff.
View Standard Manifold InstructionsTotalControl Hammer Manifold
Preset PSI inflation and deflation using the electronic TotalControl manifold.
View TotalControl InstructionsMounts & Bed Rack
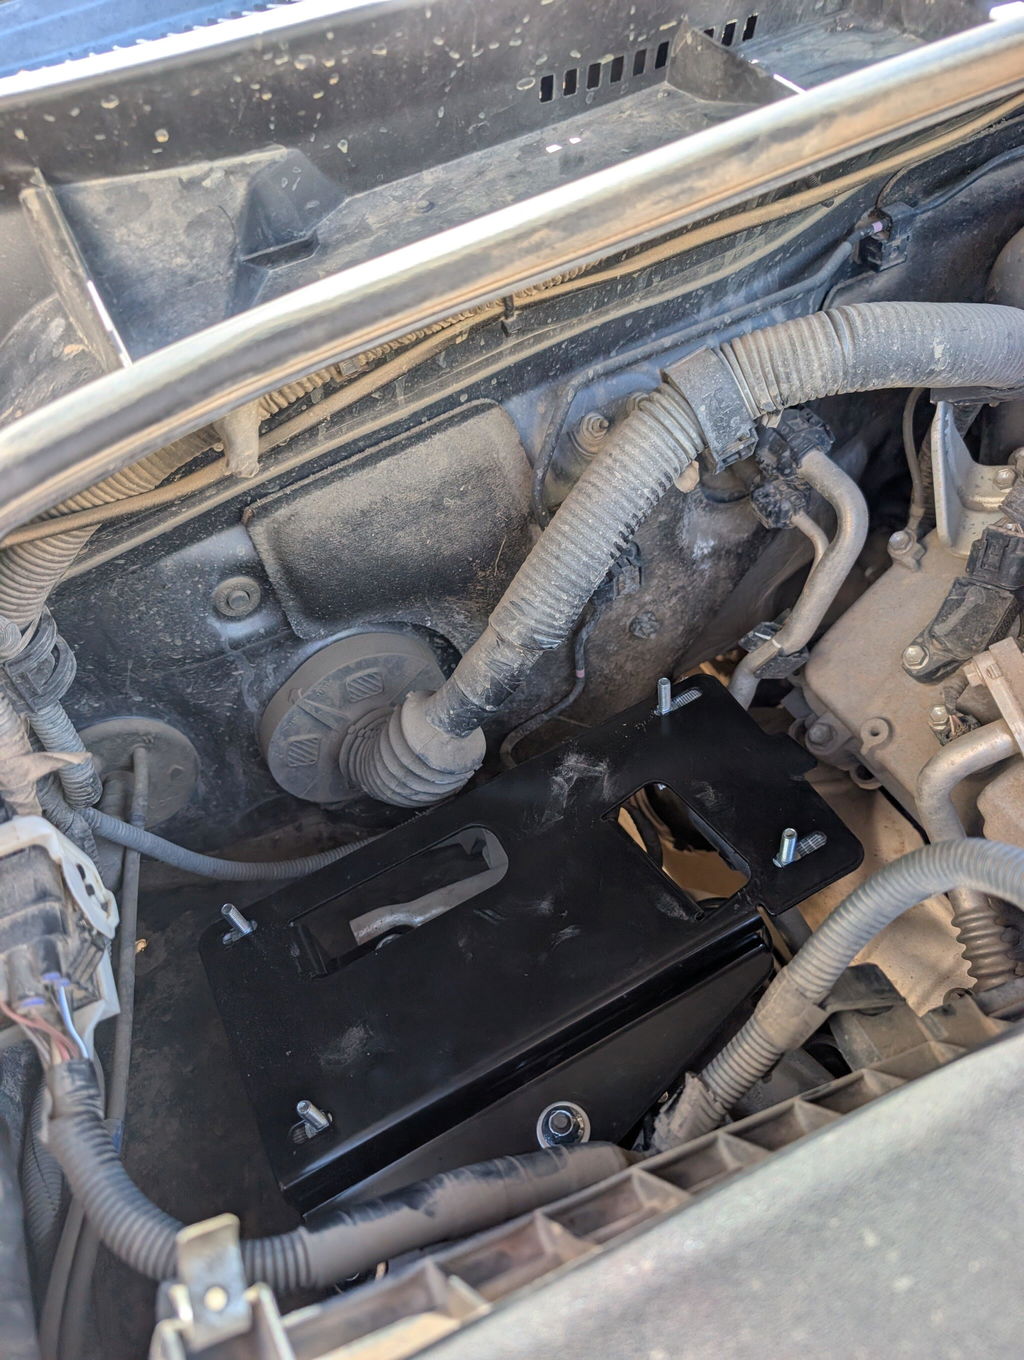
JKU compressor mount and Refuge Modular Bed Rack install videos.
View Install VideosLightning Strike Compressor
View / Download ManualQuick Start
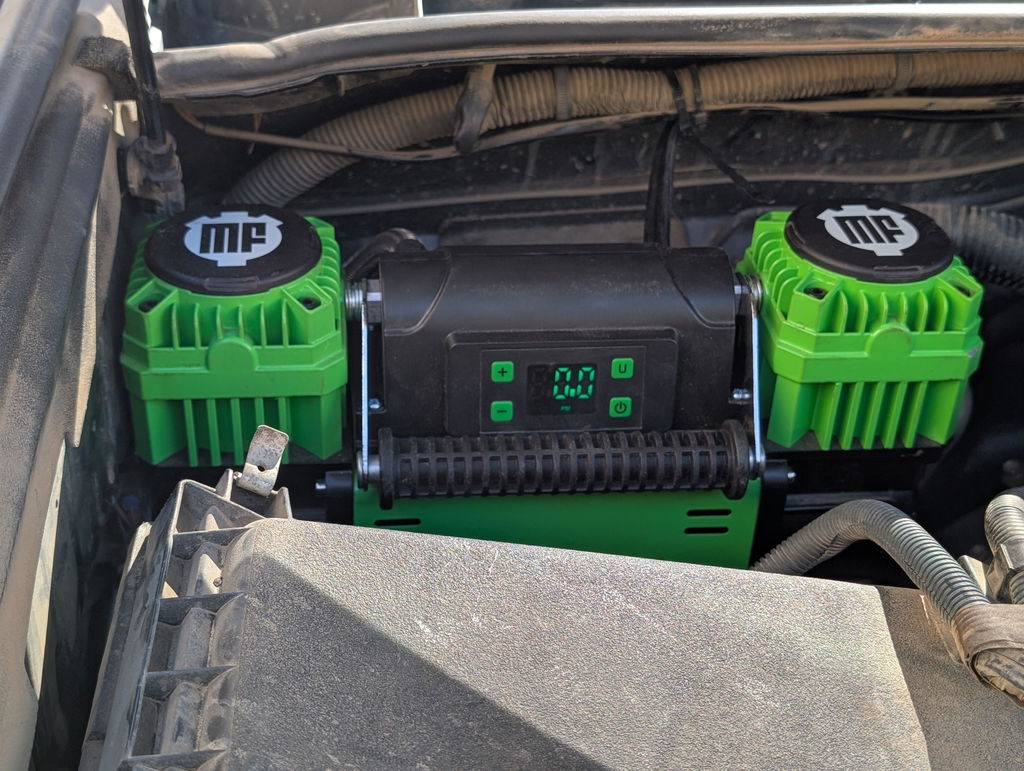
- Connect the air hose to the compressor using the quick-connect fitting.
- Connect the Thor’s Lightning Dynamo chuck to the valve stem.
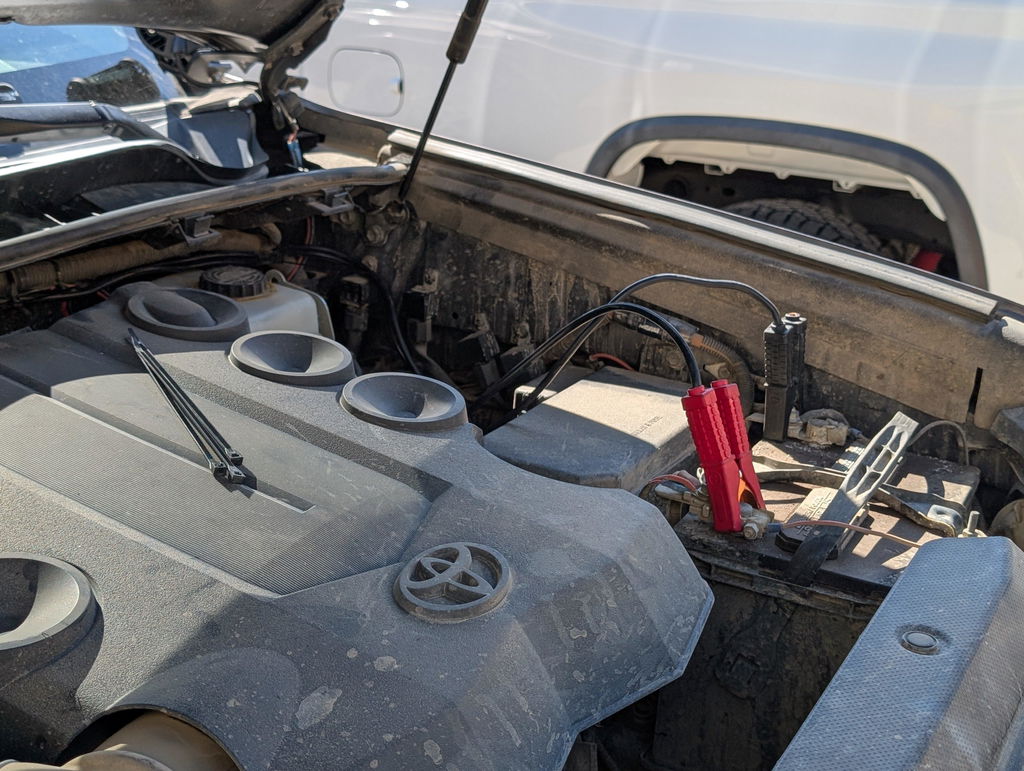
- Connect the power clamps to the vehicle battery and start the engine.
- Set desired pressure using the + or - buttons, then wait for the display to stop blinking.
- Press the power button to begin inflation. The compressor will stop automatically at the preset pressure.
Operating Modes
TotalControl™ Mode
Manual Mode
Normal Pausing
Error Codes
Allow the compressor to cool before restarting.
Check hose, fittings, and valve connection.
Input current is greater than 120A. Check power connections and load.
The selected preset pressure is below the tire’s current pressure. Increase the preset pressure before starting inflation. Applies only to STRIKE001.
Pressure is greater than 155 PSI. Reduce pressure and restart.
Sensor may be loose or damaged. Contact support.
Sensor may be loose or damaged. Contact support.
Input voltage is greater than 16V. Check vehicle electrical system.
Input voltage is lower than 12V. Start engine or check battery.
Installation & Product Videos
Watch the correct video for your product before installation or use.
Jeep Wrangler JKU Compressor Mount
Mount InstallBefore You Start
- Confirm you have the correct mount for your Jeep Wrangler JKU.
- Lay out all hardware before beginning installation.
- Watch the full video once before tightening final hardware.
- After installation, verify the compressor and mount are secure.
Refuge Modular Bed Rack
Bed Rack InstallInstall Notes
- Identify all rack components and hardware before assembly.
- Loosely install hardware first, then square the rack.
- Tighten hardware evenly once everything is aligned.
- Recheck hardware after your first drive.
Standard Hammer Manifold
Manual ManifoldStandard Hammer Manifold
Important: The Standard Hammer Manifold is fully manual. It does not have preset PSI, automatic shutoff, or electronic inflation/deflation control.
To Inflate
- Unpack hoses and orient the manifold so it is accessible for your air source.
- Connect the hose sections to the manifold using the quick-connect couplers.
- Make sure the valve is closed before connecting to the tires.
- Connect the tire chucks to the valve stems and make sure there are no kinks in the hoses.
- Connect the manifold to your air source.
- Open the manifold valve before turning on your air source.
- Turn on your air source and inflate the tires.
- Turn off the air source to check pressure with your gauge.
- Repeat as needed until desired tire pressure is reached.
- Leave the system connected for 10-15 seconds with the valve closed to help equalize pressure across all connected tires.
To Deflate
- Unpack hoses and orient the manifold so it is accessible.
- Connect the hose sections to the manifold using the quick-connect couplers.
- Make sure the valve is closed before connecting to the tires.
- Connect the tire chucks to the valve stems and make sure there are no kinks in the hoses.
- Open the manifold valve to begin deflation.
- Close the valve to check pressure with your gauge.
- Repeat as needed until desired tire pressure is reached.
- Leave the system connected for 10-15 seconds with the valve closed to help equalize pressure across all connected tires.
TotalControl Hammer Manifold
Preset PSI ManifoldTotalControl Hammer Manifold
Important: The TotalControl Hammer Manifold is the electronic manifold with preset PSI inflation/deflation. This is separate from the Standard Hammer Manifold shown in the video above.
To Inflate
- Unpack hoses and orient the manifold so it is accessible for your air source.
- Connect the controller to an air source, such as an air compressor or air tank.
- Connect the controller to the tires using the air hoses.
- Press the power button to turn the controller on.
- Set the desired PSI using the + or - buttons.
- Open the manual valve and turn on the air source to begin inflation.
- The process may pause 2-4 times for pressure calibration.
- When desired pressure is reached, the controller will close the internal electronic valve and beep.
- Turn off the air source.
- Disconnect hoses from the tires, then disconnect the air source and turn off the controller.
To Deflate
- Connect the controller to the tires using the air hoses without connecting an air source.
- Press the power button to turn the controller on.
- Set the desired PSI using the + or - buttons.
- Open the manual valve to begin deflation.
- The controller may pause a few times for pressure calibration.
- When desired pressure is reached, the controller will close the internal electronic valve and beep.
- Close the manual valve and disconnect the hoses from the tires.
Rapid Multi-Tire 4-Tire System
Inflation / DeflationRapid System Basics
To Deflate
- Unpack and orient hoses so the manifold is accessible.
- Connect hose sections to the manifold couplers.
- Connect tire chucks to valve stems and avoid hose kinks.
- Open the valve to deflate, then close to check pressure.
- Leave connected for 10-15 seconds with valve closed to equalize pressure.
To Inflate
- Unpack and orient hoses so the manifold is accessible.
- Connect hose sections to the manifold couplers.
- Connect tire chucks to valve stems and avoid hose kinks.
- Connect manifold coupler to the air source.
- Open the valve before turning on the air source.
- Inflate, then turn off air source to check pressure as needed.
- Leave connected for 10-15 seconds with valve closed to equalize pressure.
Need Help?
If you have a problem, contact Thor’s Lightning directly before returning your product to the retailer. We’ll help you get it solved faster.
Add MAXTRAX MKII recovery boards and get $50 off this air system, applied automatically at checkout. Air down, get unstuck, air back up.
MAXTRAX ships separately from our partner warehouse. The $50 comes off your Thor's air system, one per order.
USE AT HOME & EXPAND CAPABILITY