Click here to view our current lead times.
Xtrusion Overland has finalized its design adaptation and is excited to bring their Patent Pending XTR bed racks to the R1T! With innovative attachment methods and bedrail mounts that will not require any modifications to your Rivian, the XTR family of bed racks are a perfect solution for the R1T. Manufactured here in the US, all with aerospace grade components, gives you unparalleled weight to load rating ratios.
Our XTR1 bed racks come in our most popular sizes: low, mid, and full. Be sure to select which one you need!
**DISCLAIMER: Some tonneau cover rails may require modifications in order to work. Please feel free to contact us if there's questions on compatibility, or check out our Frequently Asked Questions page.
As an added bonus, our XTR1 Bed Rack includes some of our most popular accessories and mounting hardware that will allow you to mount your accessories and brackets to your new bed rack. Check them out listed below!
-
XTR1 Bed Rack:
- T-Slot Bed Rails machined to precision to fit the OEM Rivian Bar Mounts including a mechanical pass-through button for the Rivian Gear Tunnel.
- Exclusive CNC Machined Bed Rail to Column mounts that not only look good, but are engineered to perform in all scenarios the R1T might find itself.
- The revolutionary Corner Brackets that made the XTR Bed Rack a super rigid platform for all cargo needs
- 4 Uprights or Columns and 2 Crossbars.
- 4 Braces (2 per side and 2 on Top) Featuring the all new joint method that adds superior rigidity and safety.
- Off-Road Corner Reinforcement Brackets included in all heights above 12"
- All mounting hardware in automotive Grade 8 for superior strength with yellow zinc coating.
- 5 year warranty against manufacturing defects and fitment.
- Set of XTR Off-Road Reinforcement Plates (black)
- XTR Grab Handle Kit (set of 4)
- Drop-In T Nuts - 5/16-8 - 16 pcs
- Button Head Screws - 5/16-8 x 5/8" - 16 pcs

Load Capabilities
- 450 Lbs Off-Road
- 800 Lbs On-Road
- 1500 Lbs While Parked.
Bed Rack weight varies by accessories and height but ranges from 65 to 85 lbs on average with its all aluminum construction.
Setup & Support
Find quick-start instructions, installation videos, troubleshooting help, and product support for your Thor’s Lightning air system.
What do you need help with?
Choose your product below. Each section includes a video, simplified steps, and key setup notes.
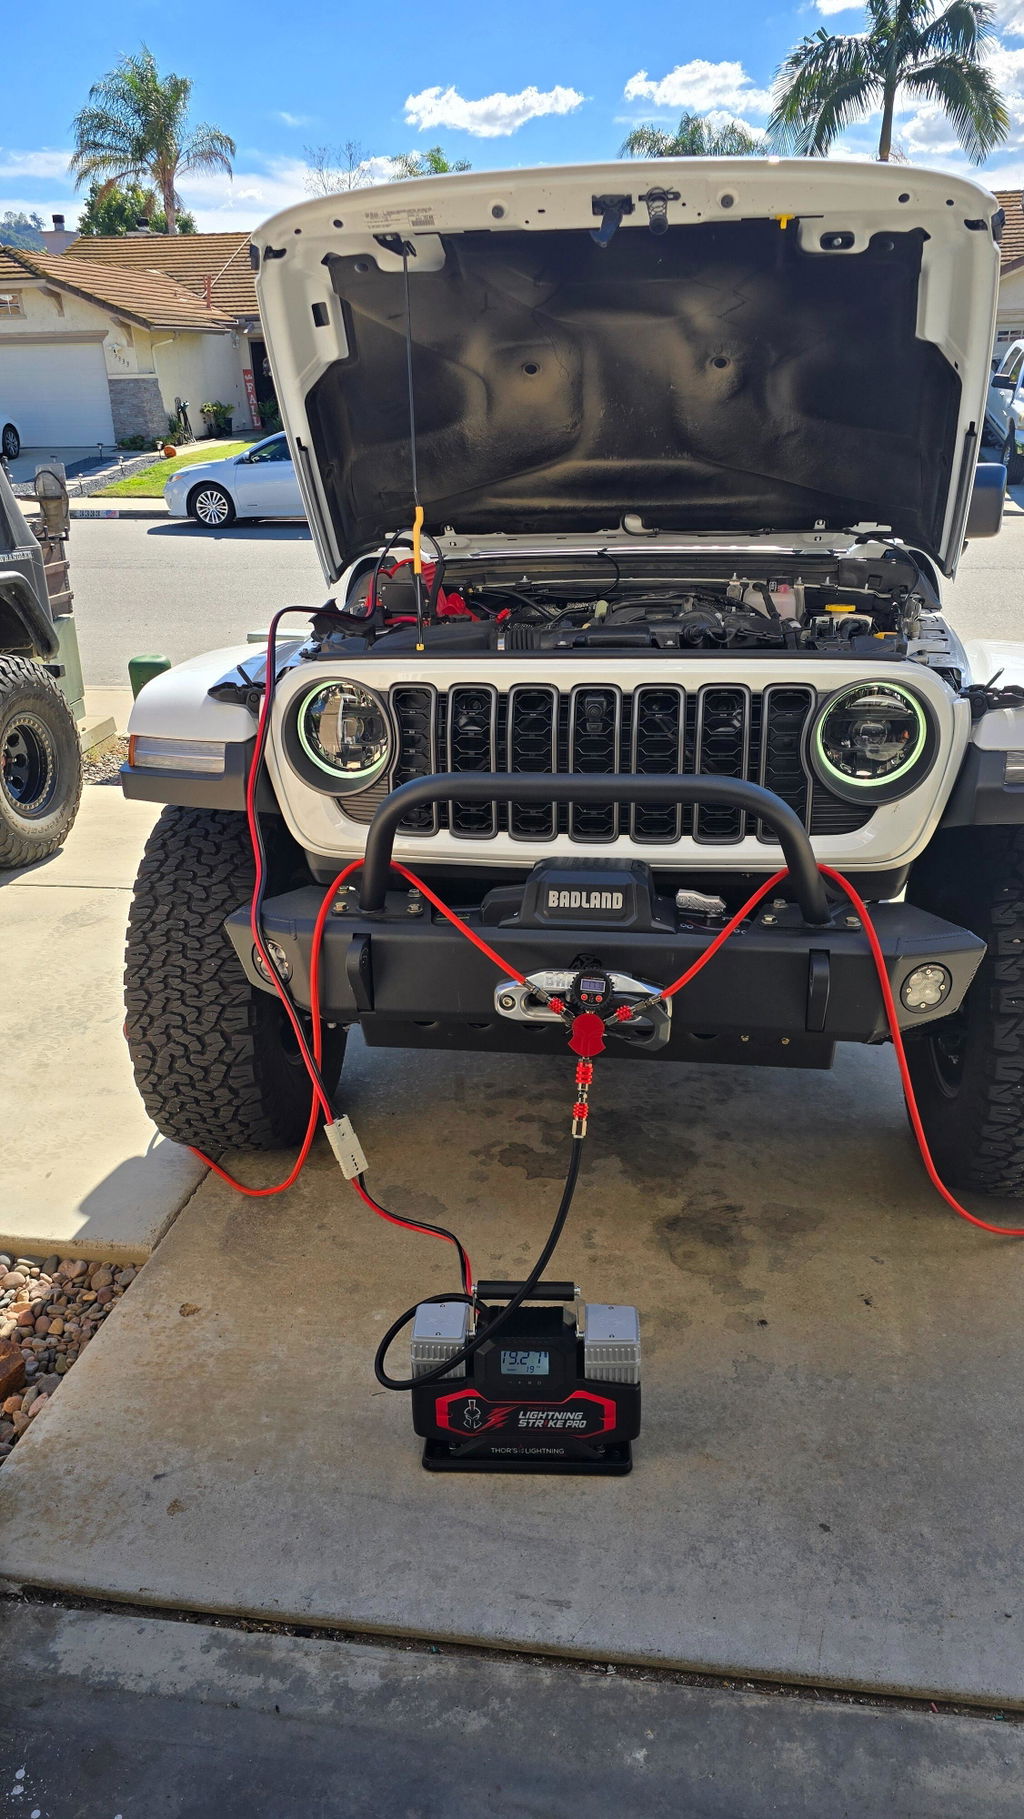
Lightning Strike Compressor
Operation, TotalControl mode, manual mode, and error codes.
View Compressor InstructionsStandard Hammer Manifold
Manual inflation and deflation using the manifold valve. No preset PSI or auto shutoff.
View Standard Manifold InstructionsTotalControl Hammer Manifold
Preset PSI inflation and deflation using the electronic TotalControl manifold.
View TotalControl InstructionsMounts & Bed Rack
JKU compressor mount and Refuge Modular Bed Rack install videos.
View Install VideosLightning Strike Compressor
View / Download ManualQuick Start
- Connect the air hose to the compressor using the quick-connect fitting.
- Connect the Thor’s Lightning Dynamo chuck to the valve stem.
- Connect the power clamps to the vehicle battery and start the engine.
- Set desired pressure using the + or - buttons, then wait for the display to stop blinking.
- Press the power button to begin inflation. The compressor will stop automatically at the preset pressure.
Operating Modes
TotalControl™ Mode
Manual Mode
Normal Pausing
Error Codes
Allow the compressor to cool before restarting.
Check hose, fittings, and valve connection.
Input current is greater than 120A. Check power connections and load.
The selected preset pressure is below the tire’s current pressure. Increase the preset pressure before starting inflation. Applies only to STRIKE001.
Pressure is greater than 155 PSI. Reduce pressure and restart.
Sensor may be loose or damaged. Contact support.
Sensor may be loose or damaged. Contact support.
Input voltage is greater than 16V. Check vehicle electrical system.
Input voltage is lower than 12V. Start engine or check battery.
Installation & Product Videos
Watch the correct video for your product before installation or use.
Jeep Wrangler JKU Compressor Mount
Mount InstallBefore You Start
- Confirm you have the correct mount for your Jeep Wrangler JKU.
- Lay out all hardware before beginning installation.
- Watch the full video once before tightening final hardware.
- After installation, verify the compressor and mount are secure.
Refuge Modular Bed Rack
Bed Rack InstallInstall Notes
- Identify all rack components and hardware before assembly.
- Loosely install hardware first, then square the rack.
- Tighten hardware evenly once everything is aligned.
- Recheck hardware after your first drive.
Standard Hammer Manifold
Manual ManifoldStandard Hammer Manifold
Important: The Standard Hammer Manifold is fully manual. It does not have preset PSI, automatic shutoff, or electronic inflation/deflation control.
To Inflate
- Unpack hoses and orient the manifold so it is accessible for your air source.
- Connect the hose sections to the manifold using the quick-connect couplers.
- Make sure the valve is closed before connecting to the tires.
- Connect the tire chucks to the valve stems and make sure there are no kinks in the hoses.
- Connect the manifold to your air source.
- Open the manifold valve before turning on your air source.
- Turn on your air source and inflate the tires.
- Turn off the air source to check pressure with your gauge.
- Repeat as needed until desired tire pressure is reached.
- Leave the system connected for 10-15 seconds with the valve closed to help equalize pressure across all connected tires.
To Deflate
- Unpack hoses and orient the manifold so it is accessible.
- Connect the hose sections to the manifold using the quick-connect couplers.
- Make sure the valve is closed before connecting to the tires.
- Connect the tire chucks to the valve stems and make sure there are no kinks in the hoses.
- Open the manifold valve to begin deflation.
- Close the valve to check pressure with your gauge.
- Repeat as needed until desired tire pressure is reached.
- Leave the system connected for 10-15 seconds with the valve closed to help equalize pressure across all connected tires.
TotalControl Hammer Manifold
Preset PSI ManifoldTotalControl Hammer Manifold
Important: The TotalControl Hammer Manifold is the electronic manifold with preset PSI inflation/deflation. This is separate from the Standard Hammer Manifold shown in the video above.
To Inflate
- Unpack hoses and orient the manifold so it is accessible for your air source.
- Connect the controller to an air source, such as an air compressor or air tank.
- Connect the controller to the tires using the air hoses.
- Press the power button to turn the controller on.
- Set the desired PSI using the + or - buttons.
- Open the manual valve and turn on the air source to begin inflation.
- The process may pause 2-4 times for pressure calibration.
- When desired pressure is reached, the controller will close the internal electronic valve and beep.
- Turn off the air source.
- Disconnect hoses from the tires, then disconnect the air source and turn off the controller.
To Deflate
- Connect the controller to the tires using the air hoses without connecting an air source.
- Press the power button to turn the controller on.
- Set the desired PSI using the + or - buttons.
- Open the manual valve to begin deflation.
- The controller may pause a few times for pressure calibration.
- When desired pressure is reached, the controller will close the internal electronic valve and beep.
- Close the manual valve and disconnect the hoses from the tires.
Rapid Multi-Tire 4-Tire System
Inflation / DeflationRapid System Basics
To Deflate
- Unpack and orient hoses so the manifold is accessible.
- Connect hose sections to the manifold couplers.
- Connect tire chucks to valve stems and avoid hose kinks.
- Open the valve to deflate, then close to check pressure.
- Leave connected for 10-15 seconds with valve closed to equalize pressure.
To Inflate
- Unpack and orient hoses so the manifold is accessible.
- Connect hose sections to the manifold couplers.
- Connect tire chucks to valve stems and avoid hose kinks.
- Connect manifold coupler to the air source.
- Open the valve before turning on the air source.
- Inflate, then turn off air source to check pressure as needed.
- Leave connected for 10-15 seconds with valve closed to equalize pressure.
Need Help?
If you have a problem, contact Thor’s Lightning directly before returning your product to the retailer. We’ll help you get it solved faster.
USE AT HOME & EXPAND CAPABILITY